As a dedicated collector of military miniatures, you likely cherish each piece in your collection for its historical significance and intricate detail. However, there comes a point in every enthusiast's journey where the desire to personalize and enhance these collectibles grows stronger. Modding, or modifying your miniatures, offers a unique opportunity to infuse creativity and individuality into your collection.
Custom Painting and Weathering: Bringing Realism to the Forefront
One of the most transformative techniques in miniature modding is custom painting and weathering. This process allows you to take a standard miniature and give it a completely new life with a unique backstory, visually conveyed through its appearance.
Step-by-Step Guide to Custom Painting
Stripping the Original Paint: Begin by carefully removing the existing paint from your miniature. This can be done using a gentle paint stripper suitable for plastics or metals, ensuring that the underlying material is not damaged.
Priming: Once the miniature is stripped, apply a high-quality primer to prepare the surface for painting. Priming helps the paint adhere better and provides a uniform canvas for detailed work.
Applying Base Coats: Start with solid base coats, choosing colors that match the envisioned theme of the miniature. It’s essential to use thin, even layers to maintain the details of the model.
Detailing: After the base coats, add finer details using smaller brushes. This is where your miniature begins to come alive, with highlighted edges, insignias, and subtle color variations that suggest wear and usage.
Sealing the Paint: To protect your work, apply a clear sealant over the painted miniature. This helps prevent chipping and wear, preserving the paint job during handling and display.
Techniques for Realistic Weathering
Weathering adds an extra layer of realism by simulating effects of environmental exposure:
Dry Brushing: This technique involves lightly brushing a lighter color over the raised areas to simulate wear.
Washes: Applying thin, darker paint in crevices and recesses enhances shadows and creates an aged look.
Sponging: To mimic rust or mud, dab a sponge lightly dipped in paint onto the surface in a random pattern.
Scratch Building and Kitbashing: Unleashing Creativity
Scratch building and kitbashing are highly creative modding techniques that allow collectors to venture beyond what is commercially available and craft truly unique components and accessories for their miniatures.
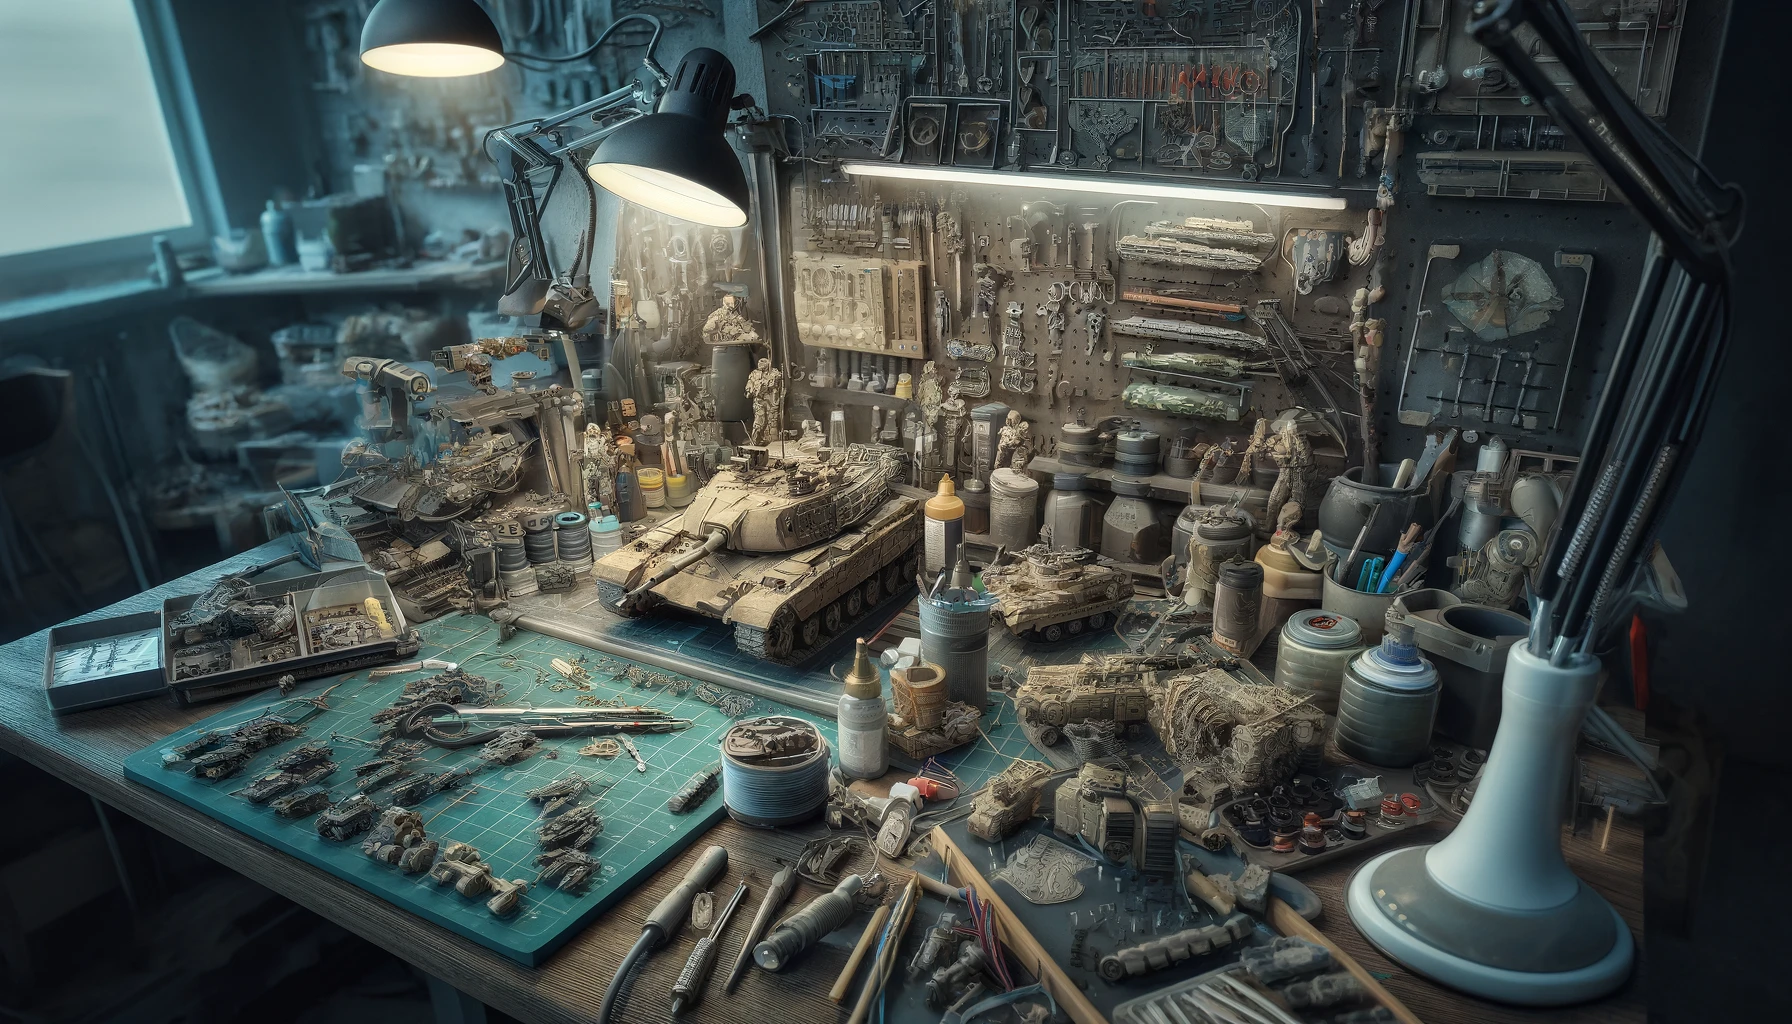
The Art of Scratch Building
Scratch building involves creating parts or accessories from scratch using materials like plastic sheets, wires, and putty. This technique is ideal for making custom weapons, armor, or even scenery that perfectly fits the scale and style of your miniatures.
Tools Required: Basic tools include hobby knives, glue, sculpting tools, and materials specific to the part you are creating.
Planning: Detailed planning is crucial. Sketch your design, considering how it will attach to the miniature and any movement it may need to accommodate.
Mastering Kitbashing
Kitbashing combines parts from multiple kits to build something entirely new. This method is perfect for collectors looking to create a custom character or enhance a vehicle with parts not originally designed for it.
Selection of Kits: Choose kits that share compatible scales and themes.
Integration: Carefully consider how the parts from different kits will come together, maintaining a coherent design language across the combined elements.
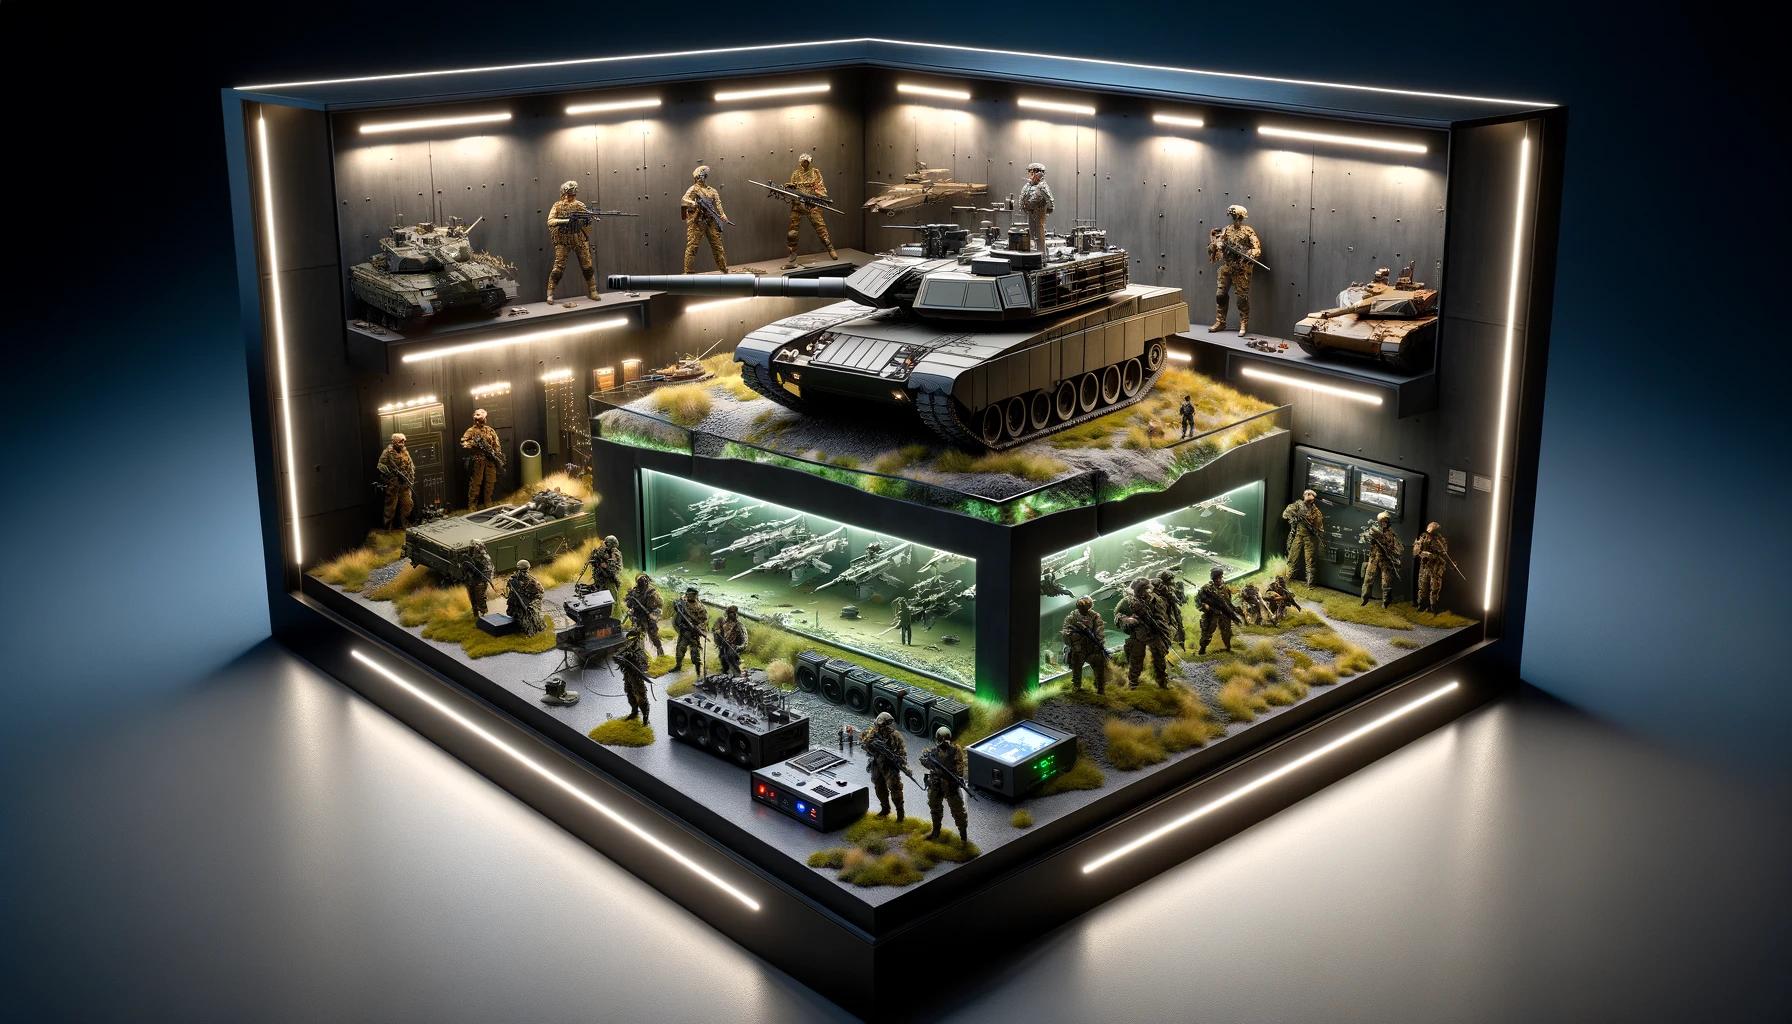
Integrating Lighting and Electronics: Adding Dynamic Effects
The addition of lighting and electronics can transform static miniatures into dynamic displays, bringing scenes to life with the glow of LED lights or the sounds of miniature electronics. This section will guide you through the integration of these elements, enhancing the realism and impact of your collection.
Adding LED Lighting
LEDs can be used to simulate everything from the flicker of a campfire to the glowing engines of a spacecraft, adding depth and interest to your miniatures.
Choosing the Right LED: Select LEDs based on the desired effect and scale of the miniature. Smaller SMD LEDs are ideal for tiny spaces and finer details.
Wiring and Soldering: Basic soldering skills are required to connect LEDs to a power source. Ensure all connections are insulated to prevent short circuits.
Installation: Integrate LEDs into the miniature or base, concealing wires and the power source within the structure or underneath the base to maintain the aesthetic integrity of the display.
Incorporating Sound Effects
Adding sound effects, such as the roar of an engine or battle sounds, can make your displays more immersive.
Sound Modules: Use compact sound modules designed for hobbyist projects. These can be programmed with custom sound clips and easily integrated into your display bases.
Activation: Consider ways to activate the sounds, such as pressure sensors or motion detectors, to add an interactive element to your miniatures.
Customizing Packaging and Displays: Elevating Presentation
The way you present and package your modded miniatures can significantly enhance their perceived value and aesthetic appeal. Custom packaging and creative display solutions not only protect your miniatures but also turn them into showpieces.
Designing Custom Packaging
Creating custom boxes or cases for your miniatures can add a professional touch and make each piece feel even more special.
Materials: Choose high-quality materials that reflect the value of the miniature, such as sturdy cardboard, foam inserts, or even wooden boxes.
Design: Incorporate branding or thematic graphics that resonate with the era or style of the miniature, adding a layer of storytelling to the packaging.
Building Custom Display Stands
Custom display stands or dioramas can provide context and elevate the overall display of your miniatures.
Thematic Bases: Design bases that reflect the environment of the miniature, such as a battlefield, an urban landscape, or a fantasy setting.
Interactive Elements: Add elements that enhance interaction, such as removable parts, adjustable positions, or integrated lighting.
Tips and Tricks for Expert Collectors
Utilizing Advanced Materials
Expanding your toolkit with advanced materials can elevate the detail and realism of your modifications.
Photo-Etch Brass: For incredibly fine details such as grilles, railings, and other super-fine structures, photo-etch brass kits can provide precision that is hard to achieve with traditional materials.
Flexible Resins: Modern UV-curable resins are excellent for creating clear parts or components that mimic glass or liquid. They can be tinted or painted, adding versatility to your modding projects.
Advanced Putties and Epoxy: High-grade modeling putties and two-part epoxies allow for detailed sculpting and modifications that maintain durability once cured, perfect for custom fabrications that need to withstand handling.
Precision Painting Techniques
Taking your painting skills to the next level involves more than just steady hands; it requires an understanding of color theory and advanced painting techniques.
Layering and Glazing: Use thin glazes to build up color gradually, allowing for smooth transitions and subtle shading that can make your paint jobs look airbrushed.
Wet Blending: This technique is excellent for creating smooth gradients and blending colors directly on the model, ideal for organic elements like capes, skins, or skies in dioramas.
Freehand Detailing: Enhance your miniatures with freehand designs such as heraldry, insignias, or camouflage patterns that are unique to each piece and add a layer of complexity and authenticity.
Electronics Integration Mastery
For those looking to truly impress, mastering the integration of electronics into your miniatures can make them come alive.
Programmable LED Effects: Using microcontrollers like Arduino can allow you to program complex lighting effects, such as pulsing, fading, or even synchronized light shows that can be activated by motion or sound sensors.
Miniaturized Sound Systems: Incorporate tiny speakers that can play multiple sound effects controlled by remote triggers, adding a dynamic audio layer to your displays or dioramas.
Display Innovation
Finally, showcasing your modded miniatures in an innovative display can make all the difference, turning them into focal points that draw admiration and attention.
Interactive Displays: Create displays that invite interaction, such as modular dioramas that can be reconfigured or have elements that can be manipulated by viewers.
Augmented Reality: Consider using augmented reality apps to add a virtual component to your displays, such as animated backgrounds, effects, or detailed explanations of the scene or history behind the miniatures.
Pushing the Boundaries of Miniature Modding
Advanced modding is more than just a hobby; it's an art form that allows collectors to express their creativity and showcase their technical skills. By continually challenging yourself with new techniques and materials, you keep the hobby fresh and exciting. Remember, the goal is to enjoy the process as much as the final outcome. Each modded miniature should reflect your passion for the craft and add a personal touch to your collection.
As you continue to explore the possibilities within the realm of miniature modding, remember that each project offers an opportunity to learn and grow. Stay curious, be creative, and don't be afraid to take risks. Your military miniatures are not just collectibles; they are canvases for your creativity, waiting to be transformed into unique pieces of art.