Painting military miniatures is more than just a hobby; it's a form of art that requires patience, precision, and passion. Whether you're a seasoned artist or a beginner eager to learn, the process of painting these small figures can be immensely rewarding.
Preparing Your Miniatures for Painting
Before you even start painting, preparing your miniatures is crucial. This initial step sets the stage for the quality of your final product.

Cleaning and Assembly
Start by carefully cleaning each miniature to remove any residues or release agents used during the manufacturing process. Washing them with mild soapy water and a soft brush can help eliminate any unwanted particles. Once dry, assemble the parts, if necessary, using super glue or plastic welders, depending on the material of your miniatures.
Removing Mold Lines
Mold lines or excess flash from the casting process can detract from the appearance of your painted miniatures. Use a hobby knife or fine sandpaper to gently remove these imperfections. Ensure a smooth finish, as these blemishes can become more conspicuous after painting.
Priming
Priming is essential—it provides a uniform base for your paint to adhere to and will enhance the durability and vibrancy of your colors. Choose a primer that complements the material of your miniature; options typically include aerosol sprays, airbrush, or brush-on primers. As recommended by Miniature Mentor, applying a suitable primer can significantly impact the overall quality of your painting project (Miniature Mentor, 2023).
Basecoating: Laying the Foundation
Basecoating is your first step in the actual painting process, and it sets the tone for your miniature's appearance.
Choosing the Right Paint
Opt for paints specifically designed for miniature painting, which tend to be more pigmented and have a smoother consistency than generic craft paints. Brands like Citadel, Vallejo, and Reaper offer a wide range of colors tailored for miniature painting.
Application Techniques
Apply the base coat in thin, even layers to prevent obscuring the details of the miniature. A wet palette can be very helpful here, keeping your paint at the right consistency longer. This technique helps in preventing the paint from drying out too quickly, as noted by The Painting Clinic (The Painting Clinic, 2022).
Shading and Highlighting: Creating Depth and Dimension
Once your basecoat is dry, it’s time to add depth and dimension to your miniatures. Shading and highlighting are techniques that mimic the natural play of light on surfaces, enhancing the realism of your figures.
Shading
Shading involves applying a darker shade to the recesses of your miniature. This technique accentuates the shadows, making the details pop out. You can use washes—thin, transparent paints that flow into crevices—to achieve effective shading. Carefully apply the wash and allow it to settle in the recesses, wiping away any excess from higher surfaces to maintain the integrity of the base colors.
Highlighting
Highlighting is the opposite of shading. Here, you apply lighter colors to the raised areas of the miniature, where light would naturally hit. This technique brings out the details and gives the miniature a more three-dimensional look. Layering progressively lighter shades on these raised areas can create a striking contrast that brings your miniature to life.
Advanced Techniques: Weathering and Distressing
To truly bring your military miniatures to life, mastering the art of weathering and distressing is essential. These techniques simulate wear, tear, battle damage, and exposure to the elements, adding realism and character to your figures.
Weathering Techniques
Weathering helps depict a more realistic, battle-worn appearance, suggesting a history and story behind each figure. You can achieve this by applying techniques such as dry brushing to highlight edges and raised details lightly. This involves lightly dipping a dry, stiff brush in paint, wiping off most of the paint, and then gently brushing over the model to catch the raised edges.
For more detailed weathering, consider using techniques such as sponging, where you dab a small piece of sponge lightly dipped in paint onto the miniature to create irregular patterns like chipped paint. Adding rust effects can also be achieved by stippling brown and orange tones in areas that would typically corrode over time.
Distressing for Realism
Distressing adds further depth to weathering, creating effects such as dirt accumulation, scuff marks, and general wear. Mixing a small amount of modeling paste with paint and applying it to the lower sections of your miniatures can simulate mud or dirt. This technique enhances the miniature's realism, making it appear as though it has marched through battlefields.
For scuffs and scrapes, a fine-tipped brush or a sponge can be used to apply light scratches, simulating damage from combat or harsh environments. This layer of detail convinces the viewer of the miniature's active service in the field.
Basing Your Miniatures: The Final Touch
The base of your miniature does more than just physically support the figure; it sets the scene and context, adding immensely to the overall impact of your painted miniature.
Choosing a Theme
Your base should reflect the environment in which your miniature would be found. For military miniatures, this could range from muddy trenches and battlefield debris to a grassy field or urban terrain. Deciding on a theme will guide your choice of materials and painting techniques.
Materials and Techniques
Common basing materials include sand, static grass, small rocks, and modeling pastes. These can be applied to the base to form terrain, which is then painted and weathered to match the theme of your miniature. Tabletop Minions offers valuable insights and tutorials on effective basing techniques that can enhance the realism and attractiveness of your military miniatures (Tabletop Minions, 2023).
Integration with the Miniature
Ensure that the weathering and distressing on your miniature are consistent with the base. For example, if your miniature has mud on its boots, the same mud effect should be visible on the base, creating a unified and coherent appearance.
Further Tips and Tools for Miniature Painting
As you continue to refine your technique and tackle more complex projects, consider incorporating advanced tools and methods to elevate your craft. A solid understanding of these additional resources and practices will ensure your military miniatures stand out with professional quality and attention to detail.
Precision Tools for Detailed Work
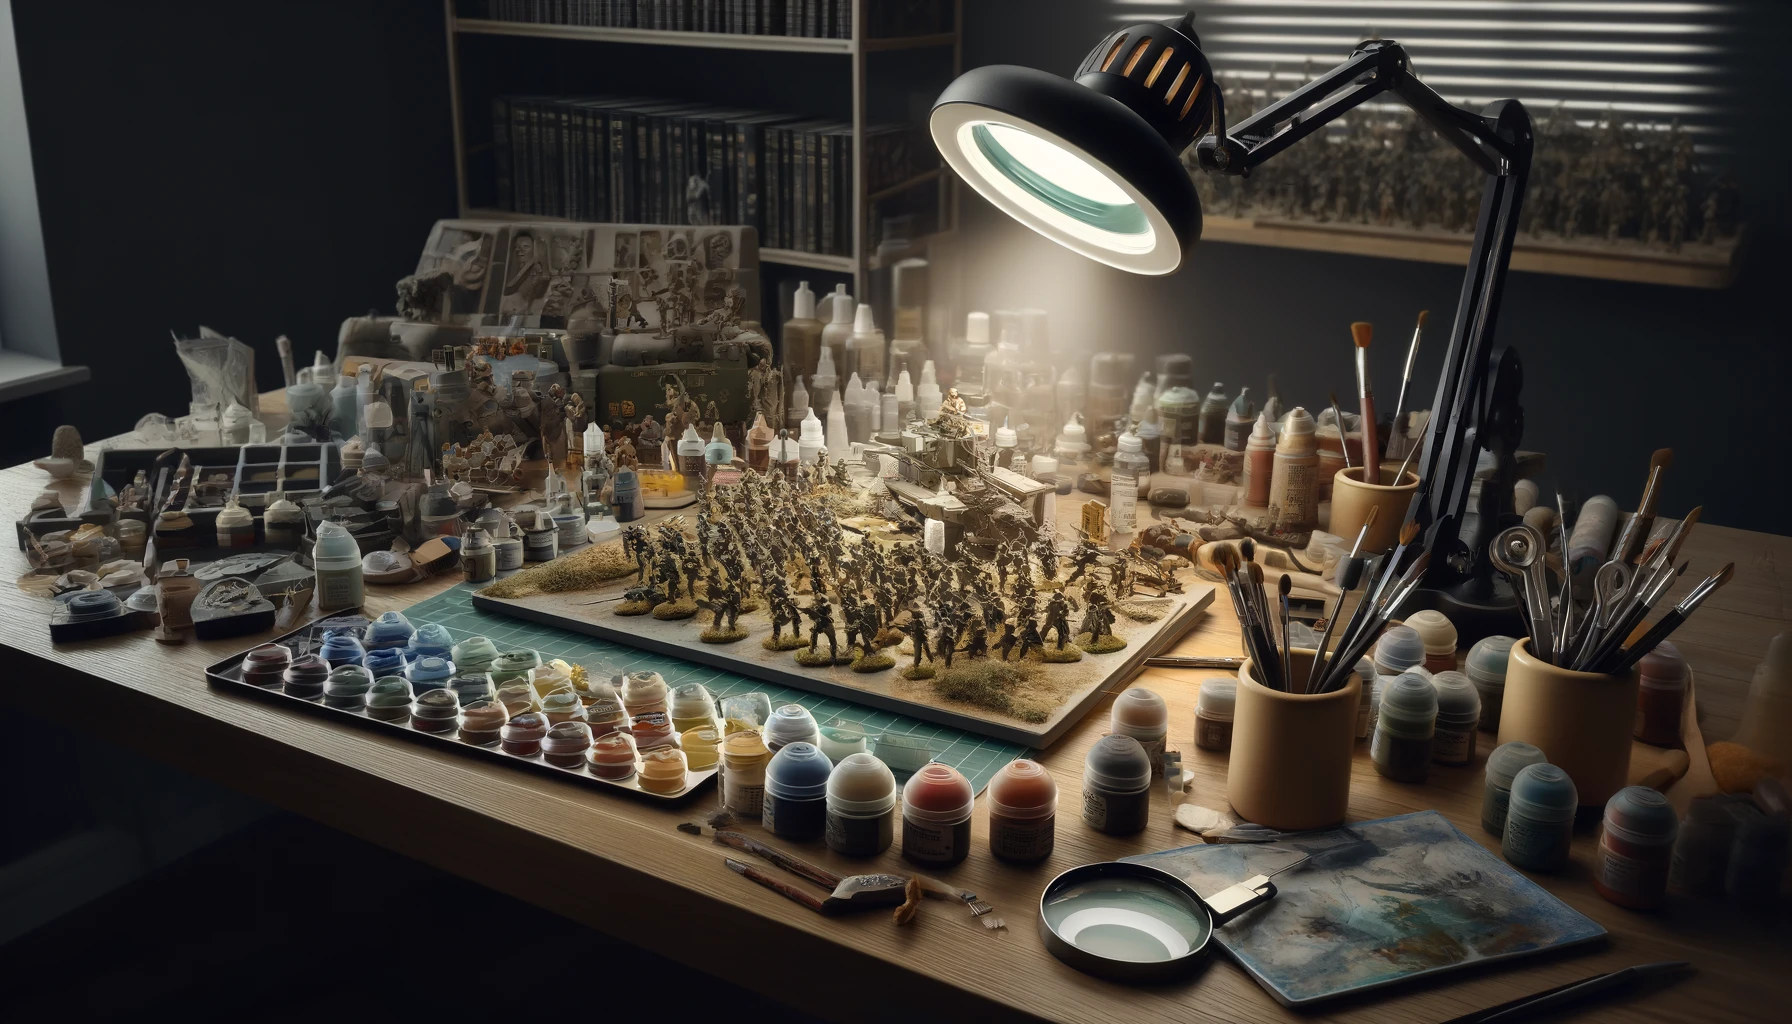
Investing in high-quality brushes and precision tools can dramatically improve the accuracy and finish of your miniatures. Fine-tip brushes are crucial for intricate details, especially for facial features and small insignias. Additionally, a magnifying lamp or glasses can help you see and paint the finer details more clearly, reducing eye strain and improving the overall painting experience.
Airbrushing for Smooth Finishes
Airbrushing is a valuable technique for applying smooth, gradient color transitions on miniatures, particularly useful for larger pieces such as tanks or aircraft. It allows for a more controlled application of thin, even coats, which can be pivotal for basecoating and varnishing. Mastering the airbrush can take time, but it's a worthwhile investment for serious miniature painters aiming for top-tier results.
Consistent Practice and Learning
Like any skill, consistent practice is key to mastering miniature painting. Regularly challenging yourself with new techniques and increasingly complex projects will accelerate your improvement. Participating in workshops or online communities, such as those offered by Warhammer TV, can provide valuable feedback and insights from more experienced painters (Warhammer TV, 2023).
Preserving Your Finished Miniatures
Once you have completed your painting, proper preservation is essential to protect your work.
Sealing and Protecting
Applying a protective varnish can shield your miniatures from physical and environmental damage. Matte or satin varnishes are popular choices as they reduce glare and preserve the depth of color without altering the painted details.
Storage Solutions
Storing your miniatures in a cool, dry place is crucial for long-term preservation. Use foam trays or dedicated miniature storage boxes to avoid physical damage. These precautions prevent the painted figures from rubbing against each other, which can cause wear over time.
Mastering the Art of Military Miniature Painting
Painting military miniatures is a rewarding pursuit that combines artistic expression with a love for history and storytelling. By following the essential techniques outlined in this guide—from preparation to painting, from weathering to basing—you will enhance not only the appearance of your miniatures but also their storytelling power. The resources and tips provided will help you grow as a painter and ensure that each miniature you complete is a testament to your skills and dedication.
Remember, the journey of miniature painting is one of continual learning and enjoyment. Embrace each project with curiosity and creativity, and don't hesitate to experiment with new ideas. With patience and practice, you will find that painting military miniatures is not just a hobby, but a profound way to connect with history and bring its tales to life on your tabletop. Happy painting!